If like me you are passionate about music, you might want to easily listen to one of your albums wherever you are. It is not always practical to lug around your CDs or vinyls everywhere, so you have probably already dematerialized some of your cookies (and with young children a small backup is never superfluous). But you fall back on another concern which is to have on you your collection of MP3. More practical than the CD, but not necessarily ideal either. The music streaming server may be the solution.
This post follows the setting up of a home server for self-hosting , and also the setting up of Owncloud .
Which choice for the streaming server?
The music part of Owncloud being a little limited, I preferred to opt for a full-fledged music streaming solution. I hesitated between two solutions that seemed interesting: Ampache and Subsonic .
I finally opted for the second solution, in particular because Subsonic offers an Android application. And because I saw that there was also a development of an interface in html5 .
Installing Subsonic
The basic installation is very simple and immediate, the application being in the repositories. Just follow the instructions on the official website . On the other hand, and this is indicated at the end of the installation, the application runs by default as root. The ideal is therefore to change this, because if the application has a flaw, the consequences could be serious. There are various tutorials on the net to do this, including this one .
Subsonic also uses port 4040 by default. This means that if you want to access your Subsonic streaming server from outside, you will need to open this port on your router and/or your firewall. By typing the address of your server followed by: 4040 you arrive on the login screen:
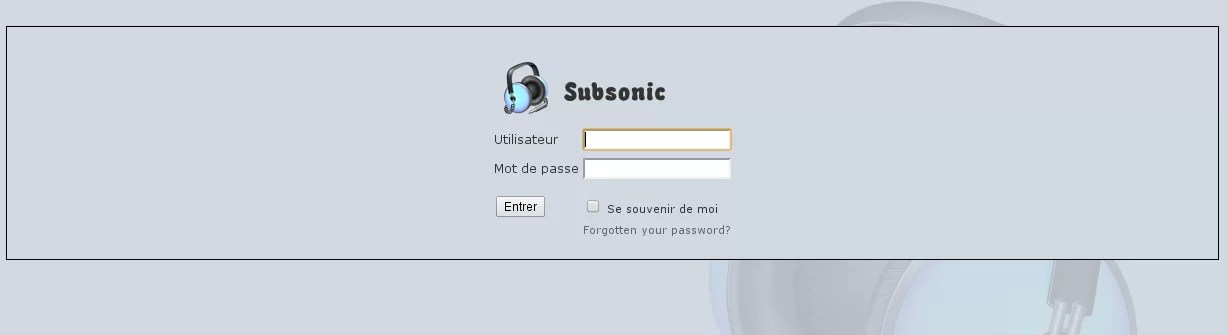
All you have to do is connect with the admin account defined during installation.
Setting up and using Subsonic
The first step will be to define the folders in which your music files are stored. To do this, once connected, you must go to the settings section.
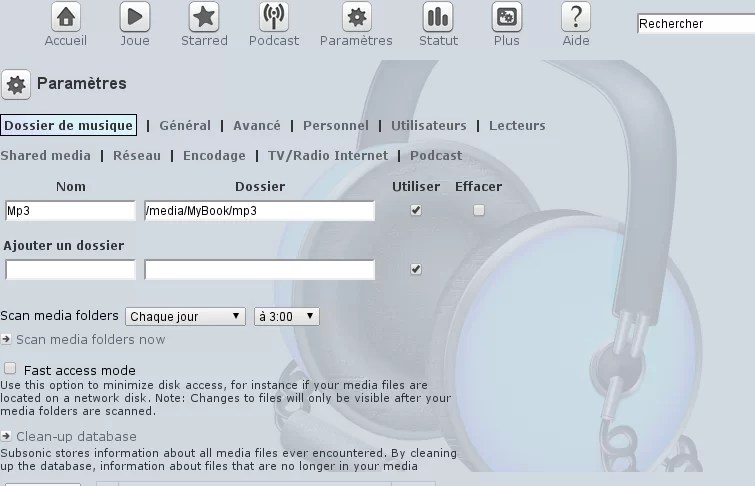
In settings you with a sub-item “Music Folder”. You will be able to indicate the access path(s) to your files and then click on “Scan media folders now”. This scan will then be done regularly at the frequency you specify.
Once Subsonic has scanned your directories, you can already enjoy your music.
In the settings, you will also be able to create user accounts, defining rights and possible restrictions for each.
You can even change the encoding settings if necessary.
In short, you have a lot of things to manage your streaming server.
By going to the home page, you will have on the left your subfolders of music classified in alphabetical order, in the middle a selection of rotating albums and at the bottom the player and your playlist

You can also navigate through the proposed tabs in the central part: new, best rated, recently played…
Note the possibility of integrating podcasts and video (two parts that I have not yet had the opportunity to test).
If you do not like one of the interfaces offered by Subsonic, know that by going to the “More” tab you will have access to MiniSub, a player for Subsonic in HTML5:

The interface is a little more “up to date”. For it to be functional, you will need to enter your login, password and server url in this reader (via the settings cogwheel).
A word also on the Android application, which is a significant asset. The interface is clear, well suited to mobile. There’s even an offline mode (which I haven’t had a chance to use yet). Note that the mobile application can only be used for 30 days. Beyond that, you will need to upgrade to a Subsonic premium account. But in view of the functions provided and the price (12€ / year, or 1€ per month, not even a coffee), it would be a shame not to take the plunge and at the same time support the development of this beautiful tool.
Reverse proxy if port 4040 blocked in output
I just encountered a case at a company where port 4040 was blocked outbound. Suddenly, impossible to go and listen to the music on my server. Never mind, with a vhost and a reverse proxy you can get around the problem. This will allow port 80 to be used, and once traffic is on your server redirect it to 4040.
Create a subdomain first if you haven’t already for subsonic access (this will allow you in the virtual host to identify the incoming traffic for Subsonic, because the traffic will now enter through port 80, it will be mixed with all the web traffic and it must therefore be isolated to avoid impacting the rest).
Next, you need to create the vhost:
<VirtualHost *:80>
ServerName subdomain.domain.fr
ServerAdmin mail@domain.fr
ErrorLog /var/log/apache2/subsonic.log
<Proxy *:80>
Order allow,deny
Allow from all
</Proxy>
ProxyPass / http: //127.0.0.1:4040/
ProxyPassReverse / http://127.0.0.1:4040/
</VirtualHost>
Subsonic is now reachable from the outside through port 80, with the vhost taking care of internal cooking and forwarding to port 4040. So if port 4040 is blocked where you are, you’ll still have access to your music.
With Subsonic, you will therefore have all the cards in hand to create your Deezer or Spotify like at home.

